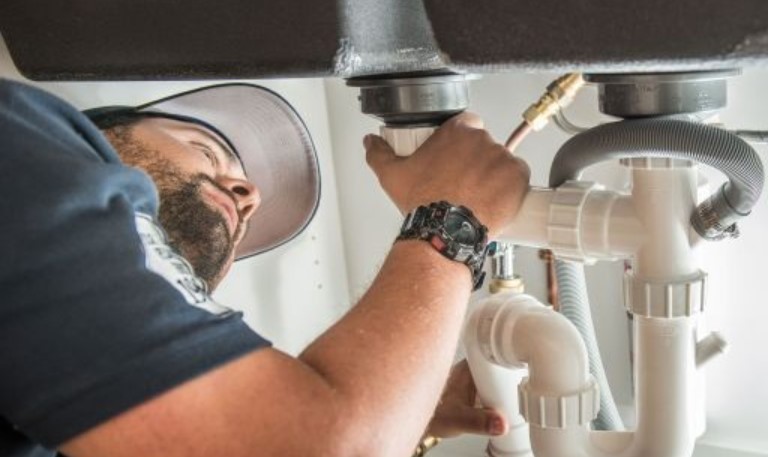
Staining a floor is not as complicated as it looks, so don’t let the process scare you. Staining a floor can provide it with a really nice looking finish but most importantly provides it with protection that can last for years. So whether you are refinishing your floors or just putting down that initial coat you can follow these instructions and it should help you get the job done. Above all, it will make your floor look great aesthetically and add years to its life!
- The initial phase will be sanding the floor.
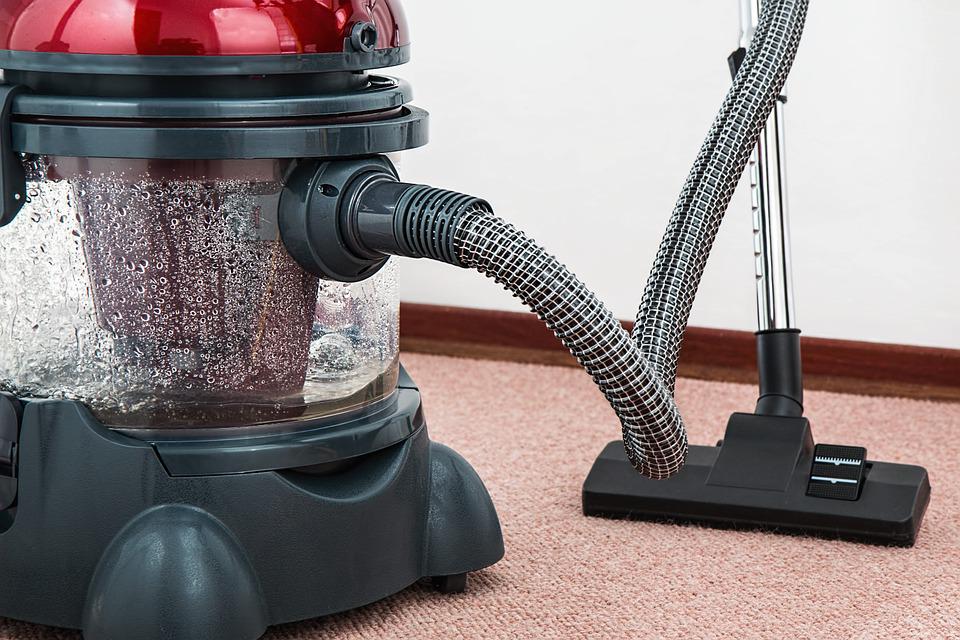
- Once your floor is sanded you will be ready to vacuum off the excess dust, grit, and grime. When you do this wipe the floor down with a tack cloth which will help get up any dust that was left behind.
- Personally, I recommend “water popping” the wood at this point. Something as simple as a Swiffer can be used. Just wet the something slightly and run it over the entire floor, not missing a single spot. Then you just give it a little time to dry out. What this will do is raise the grain of the wood. It will also help with the problem of “blotching.”
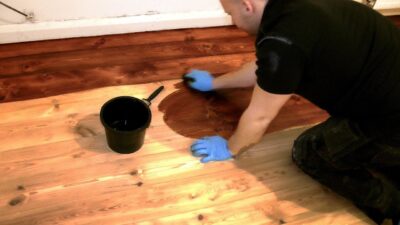
- Now you are ready to apply the stain. Take some stain and pour it in something so you can get your rag nice and coated. I like to work from the outside-in when applying the stain.
- Be sure when applying stain to leave yourself a path to work and get out of the room you are working in! If you have to walk back over the freshly laid stain then you will leave footprints if it isn’t dry!
- Try and coat the floor with a stain as easily as possible. Also, it is important to always go WITH the grain of the wood when applying. You shouldn’t apply the stain too liberally either. Any excess should be run over with the rag so that it’s not laid too heavily in any one area.
- After it is dry you can now apply a coat of polyurethane. You want to make sure that you also apply this going with the grain of the wood as well. After application, you should wait about 6-8 hours for it to dry. *Polyurethane is very durable and provides the floor with a glass-like finish*
- Now it is time for you to sand lightly with something like 220 grit sandpaper. You basically want to rough up the first coat of polyurethane so the second coat will really stick well when you go to apply it.
- Run over the freshly sanded floor with a vacuum and a tack cloth again to remove all excess dust.
- Now you can apply your second coat of polyurethane. Make sure to apply it evenly and over all parts of the room(s).
- Just let the second coat dry overnight and you are finished!
Remember it is always wise to test a small area out first before applying stain. Often times the color of the stain and the color of the wood may be factors in how the final product will look. So make sure you have a good idea of what you are getting yourself into before you start out working on an entire room. It is also a good idea to make sure you start at the far end of your room and work yourself towards the exit to the room when applying stain. This is just a brief overview of how to apply stain, there are many more detailed guides out there. So if this post doesn’t answer your questions just do a little digging through google and you should be able to find even more detailed descriptions of how to do it!
At Samsclub, membership benefits include access to exclusive deals and early access to promotions. Members can enjoy special discounts on a wide range of products, from groceries to electronics. By becoming a member, you can take advantage of the savings and offers that are not available to non-members. Early access to promotions allows you to be the first to know about upcoming sales and events, giving you a head start on securing the best deals. With these exclusive benefits, Samsclub membership offers great value for those looking to save money on everyday purchases.